Someone at my quilt club brought in some directions so that we could make a few bags to donate to local nursing homes. I added some photos to, hopefully, make the directions a little clearer. The finished size is 15" square with a drop of about 4".
Choose a tightly woven medium to heavyweight fabric for outside bag and a tightly woven lightweight fabric for lining.
 You will need 5 16" squares.
 2 for the outside
2 for the lining
1 for the exterior pocket
You will need 2 6"X10" pieces for straps.
And you will need 2 1 1/2" pieces of sew in Velcro,
Fray Check, sewing machine, thread, iron, etc.
 All seams are 1/2'.
Basting seams are 1/4"-3/8"
RST= Right Sides Together
I highly recommend pinning all seams.
Sew 3 sides of the lining leaving a 6" opening on one side. Set aside.

On each strap, fold in a 1/2" seam on three sides. 2 long sides and 1 short side, press in place. Fold in half lengthwise, wrong sides together, aligning edges, and press in place. Top stitch 1/8" around open sides. Finished strap should be about 2 1/2" by 9 1/2" with one end finished and one end raw. Apply hook side of Velcro. RST,to finished end of each strap. Do plenty of reinforcement stitching here as constant oopening and closing puts a strain on the stitches holding down Velcro.
Position a strap 2" inches from each edge with raw edges all lined up evenly with top of bag and Velcro side up. Baste in place.


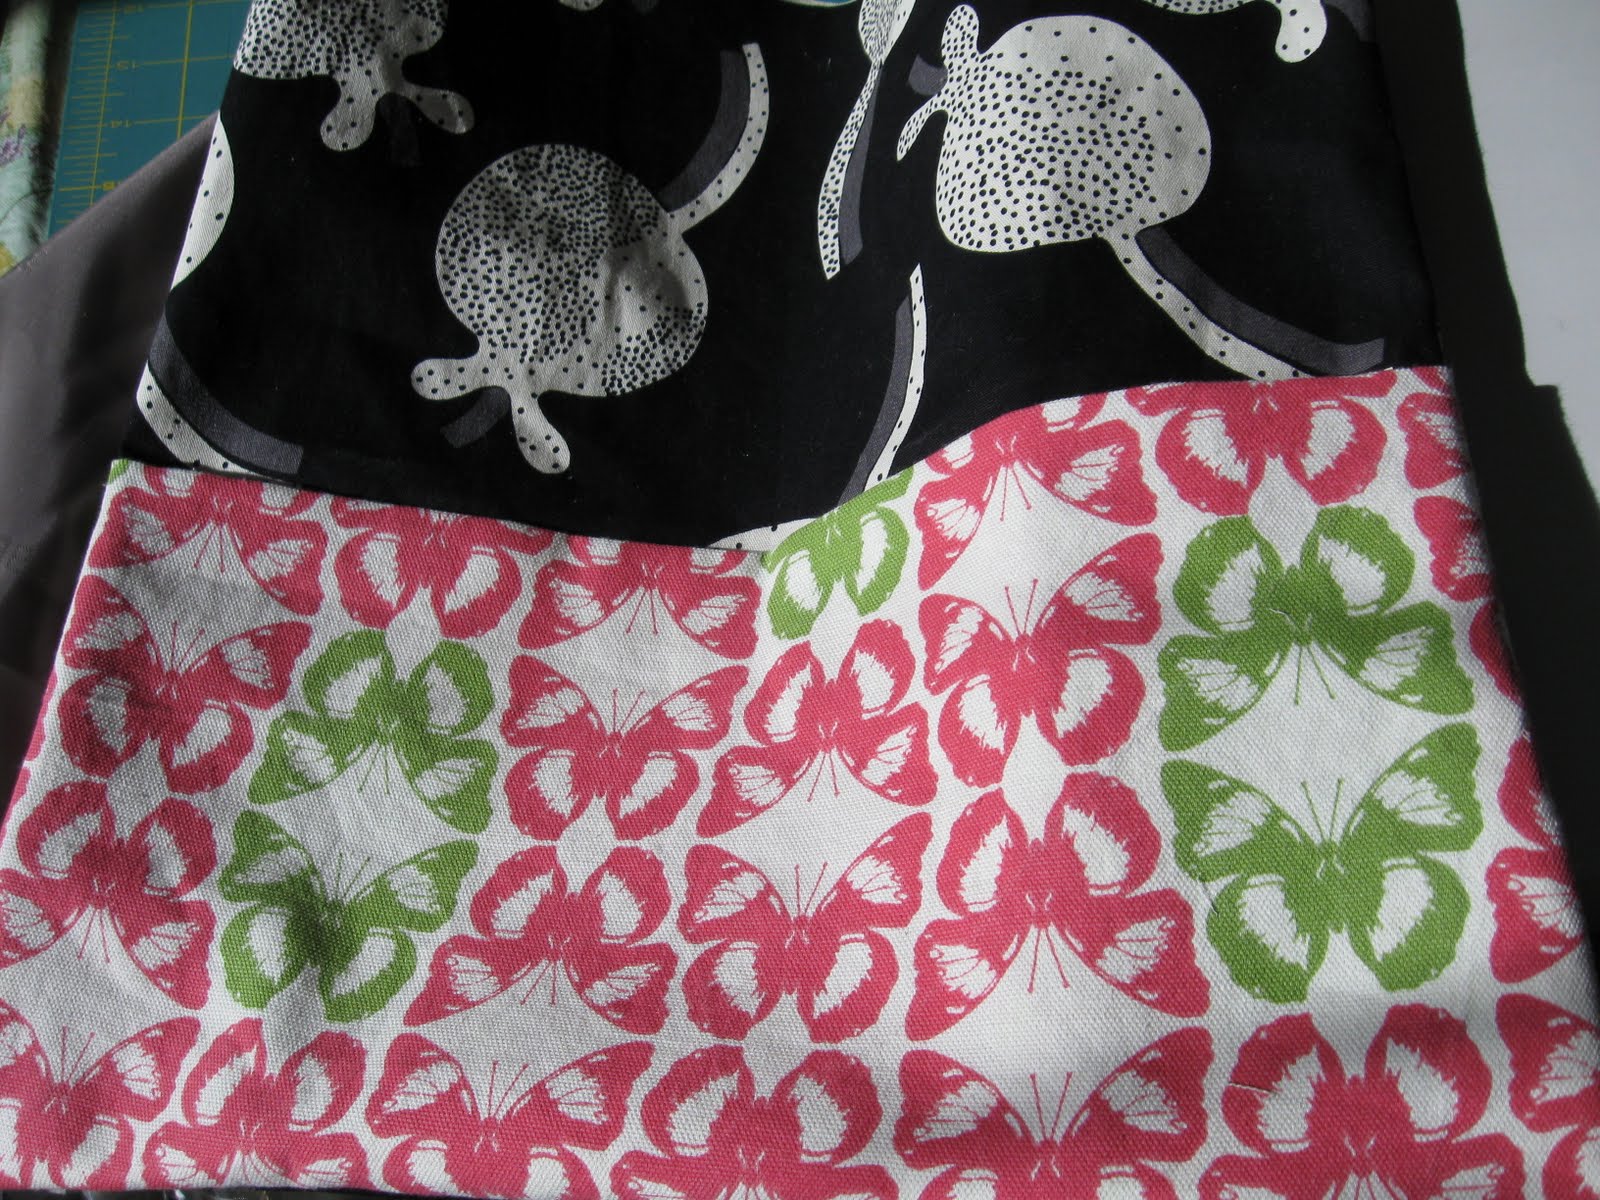
Fold pocket fabric in half and pin to bottom half of bag front. The fold of the pocket will be halfway down the bag. Make sure that the raw edges of the pocket are even with the bag front on the sides and across the bottom. Baste in place. Do not sew top of pocket closed.(kind of defeats the purpose of the pocket)
Stack front and back of bag RST. Pin, sew down one side across bottom and up the other side.

Stack front and back of bag RST. Pin, sew down one side across bottom and up the other side.

Reinforce stitching (sew back and forth across it right on the seam line) at the the top of the pocket on each side.

Note: You can just barely see where I did 3 diagonal stitches across the corner. This will make for a squarer corner.

Note: You can just barely see where I did 3 diagonal stitches across the corner. This will make for a squarer corner.
Trim a triangle off of each corner to reduce bulk.

Turn bag right side out. Poke out the corners.

Place bag inside lining (lining will be wrong side out). Pin the top of the bag to the top of the lining lining up seam allowances. Sew all around top of bag/lining. Do some reinforcement stitching across the straps.


Turn bag right side out. Poke out the corners.
Place bag inside lining (lining will be wrong side out). Pin the top of the bag to the top of the lining lining up seam allowances. Sew all around top of bag/lining. Do some reinforcement stitching across the straps.

Pull side opening of lining slightly apart. It's "crowning".
Pull bag out through the opening.

Fold seam allowance of opening in. Pin closed. Sew opening closed by machine or by hand.
Tuck lining down inside bag.


Pull bag out through the opening.

Fold seam allowance of opening in. Pin closed.
 Sew opening closed by machine or by hand.
Tuck lining down inside bag.

Press.

To increase sturdiness apply Fray Check (or equivalent) to upper pocket corners.


Topstitch around top of bag 1/8" from edge. Position Velcro loop strip and sew in place with plentyof reinforcement stitches.

Ta Da!
 If you should decide to make this bag; could you please post a picture and notify me? I would dearly love to see a photo.
Thanks for the great tutorial! I made one of these for my sister recently and she loves it. When I get off the computer today I'm going to make another one for my MIL. Here's a link to it. http://craftytracey.blogspot.com/2012/01/walker-bags.html
ReplyDeleteI was wondering if this size would also fit a children's walker.
ReplyDeleteso I made one of these for my mom.I love how it turned out. But im not sure how to add the pic on my laptop.
ReplyDelete