We don't make mistakes we just change our plans-

Carla Rodio


Search This Blog

Showing posts with label tutorial. Show all posts

Thursday, May 26, 2016

44" medallion made from Barb Brackman's #2078, TUTORIAL

This block is not for the beginner nor the faint of heart.  But if you are an experienced and accurate quilter you should be able to achieve it.  When I give directions I am going to assume that you have your fabric prepared and you already know how to do basic cutting and piecing.

You will need:
2 cutting rulers, cutting mat, cutter, sewing sundries, and a sewing machine
Not necessary but nice to have; a large square cutting ruler
Plenty of background fabric
5/8 of a yard for points (fortunately I had more as I messed up and had to recut)
18 1/2" square for center

 44" Center block for a queen sized quilt.  It is block #2078 in Barb Brackman's encyclopedia.

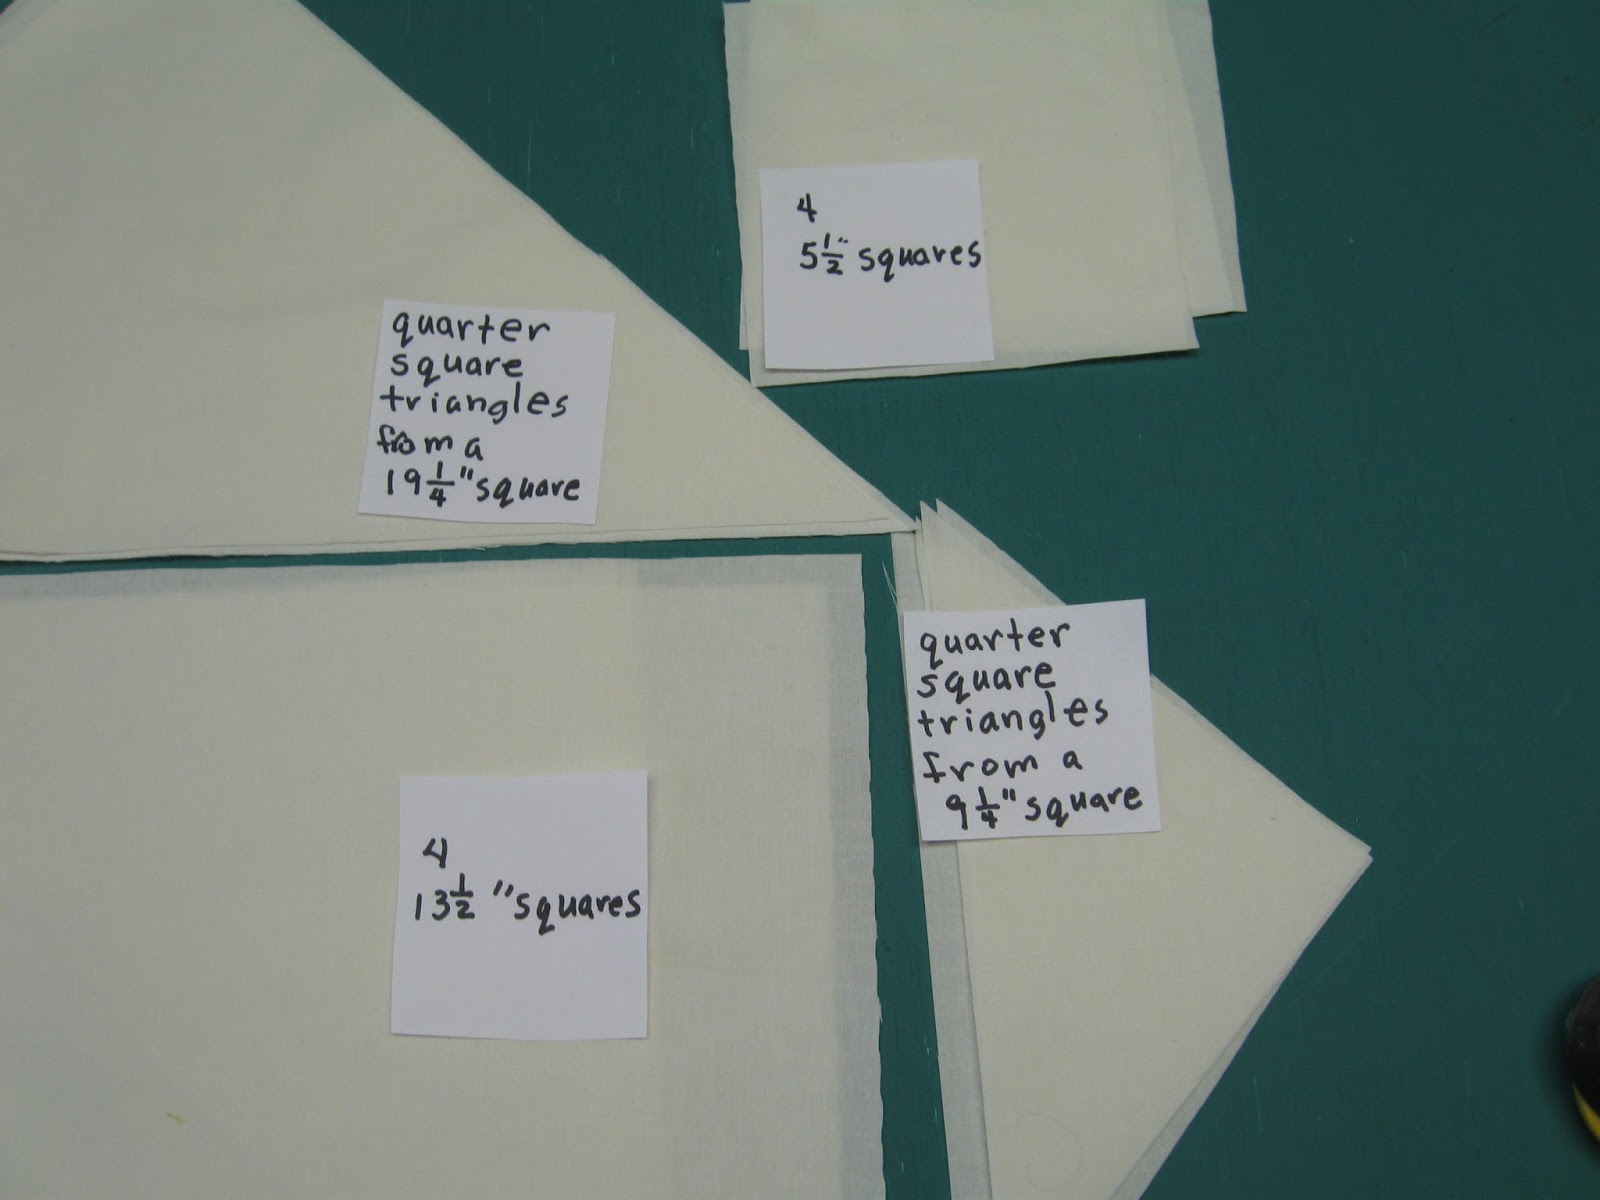
 These are background fabric pieces that you will need.  
One 19 1/4" square cut into quarter square triangles
One 9 1/4" square cut into quarter square triangles
Four 13 1/2" squares                                              
Four 5 1/2" squares                                               
                                           
Now is when we get to the biggest cutting challenge; what I call Mirror Image Truncated Triangles (MITT).
 You will need two Widths Of Fabric(WOF), cut 9 5/8".  Leave them FOLDED in half.  You will be able to get two sets of MITT's from each WOF.

 Notice where the selvages are located (to the right).  Measure fifteen inches from the selvage and mark this spot.

 Make a 45 degree edge to edge cut at that mark.

 45 degree cut successfully completed at 15" mark.  (point is pointing to the Left, selvages to the right)

Set excess aside carefully as you will be cutting a second MITT set from it.

Tricky part coming up.  Pick up fabric layers and flip them over so that your point is now pointing to the Right and your selvages are now on your Left.  You will be trimming this shape down to 13 7/8".  

A little more clarity for this cut:  You need two rulers to make this cut.  The first ruler will be used to position the second ruler.  You will be using the position of the second ruler to actually cut.  

Take your FIRST ruler and place it along the cut edge of the fabric with the point falling just onto the 13 7/8" measurement on your ruler.  Place the SECOND ruler alongside the end of the first ruler and remove the first ruler now trim off the selvage end using the second ruler.  


Take the FIRST ruler and place it on the bias cut so that the corner of the ruler falls exactly on the point of the corner where the bias cut and top edge meet.  Lay your second ruler along the end of the first ruler.

Remove your first ruler and and trim off the half of a square triangle.  
LOOK at next photo to see the cutting ruler falling exactly on the point of the angle.

All of the positioning and cuts need to be very accurate.


Make the commitment.  Cut off the half square triangle.  Discard the half square triangles.

Open them up and admire your handiwork.

After you complete the cutting for this set of MITT's; gather up the excess that you had set aside, lay it out with the point to the Right and complete the cutting for your second MITT set from this WOF. Two sets of MITT's cut.

 Repeat with second WOF for a total of four MITT's'

 NOTE:   When you go to cut out the second MITT from your WOF you will be trimming off the fold instead of the selvage. 


Take a large quarter square and a small quarter square triangle and sew one to each MITT.

Press to the dark.

Pin and sew the seam, press. Repeat for a total of four units. 


Center unit:  For your 5 1/2" background squares; fold them in half diagonally and gently press.  Open out the squares and place one on each corner of your 18 1/2" square, RST.  The crease should run from adjacent side to adjacent side for each corner.  Pin in place.

Sew each background square to center square using the crease as a sewing guide.  Lay the 1/4" line of your ruler along the stitched line and trim off the excess triangle leaving a 1/4" seam (cutting through the background fabric and center square fabric).  Discard these triangles.

Check the size of each MITT unit.  Make sure that is 13 1/2" by 18 1/2".  If it isn't; make is so.

You will now make a giant nine patch with your nine units.  (One center square, four MITT units, and four 13 1/2 squares)

Sew two MITT units to center square like this.  (Center strip of nine patch block.)

Sew a 13 1/2" square to each end of remaining MITT's like this. (Two outside strips of nine patch block.)

Lining up the MITT units perfectly with the center square is the hardest part of constructing this block.

Unacceptable to me. I ripped this out and redid it.


Baste all the junctions before completely sewing the length of the seam.  Stab a pin through the seam 1/4" from the edge and into the seam of other unit 1/4" from the edge.  Baste seam.  Check.  If necessary rip out and redo.  Repeat until all seam junctions align perfectly.  

Sew all three strips together to form a single block.  


Thursday, November 11, 2010

Walker bag tutorial

Do you have a loved one that uses the assistance of a walker to get around? When both hands are occupied it is difficult to carry things around with you. Here I have written out some dimensions and directions for a bag that you can hang on the front of the walker. They are very easy and quick to make so that you can construct one or several. (It's probably quicker to make one than to read my directions.)

Someone at my quilt club brought in some directions so that we could make a few bags to donate to local nursing homes. I added some photos to, hopefully, make the directions a little clearer. The finished size is 15" square with a drop of about 4".
Choose a tightly woven medium to heavyweight fabric for outside bag and a tightly woven lightweight fabric for lining.
You will need 5 16" squares.
2 for the outside
2 for the lining
1 for the exterior pocket
You will need 2 6"X10" pieces for straps.
And you will need 2 1 1/2" pieces of sew in Velcro,
Fray Check, sewing machine, thread, iron, etc.
All seams are 1/2'.
Basting seams are 1/4"-3/8"
RST= Right Sides Together
I highly recommend pinning all seams.
Sew 3 sides of the lining leaving a 6" opening on one side. Set aside.

On each strap, fold in a 1/2" seam on three sides. 2 long sides and 1 short side, press in place. Fold in half lengthwise, wrong sides together, aligning edges, and press in place. Top stitch 1/8" around open sides. Finished strap should be about 2 1/2" by 9 1/2" with one end finished and one end raw. Apply hook side of Velcro. RST,to finished end of each strap. Do plenty of reinforcement stitching here as constant oopening and closing puts a strain on the stitches holding down Velcro.
Position a strap 2" inches from each edge with raw edges all lined up evenly with top of bag and Velcro side up. Baste in place.
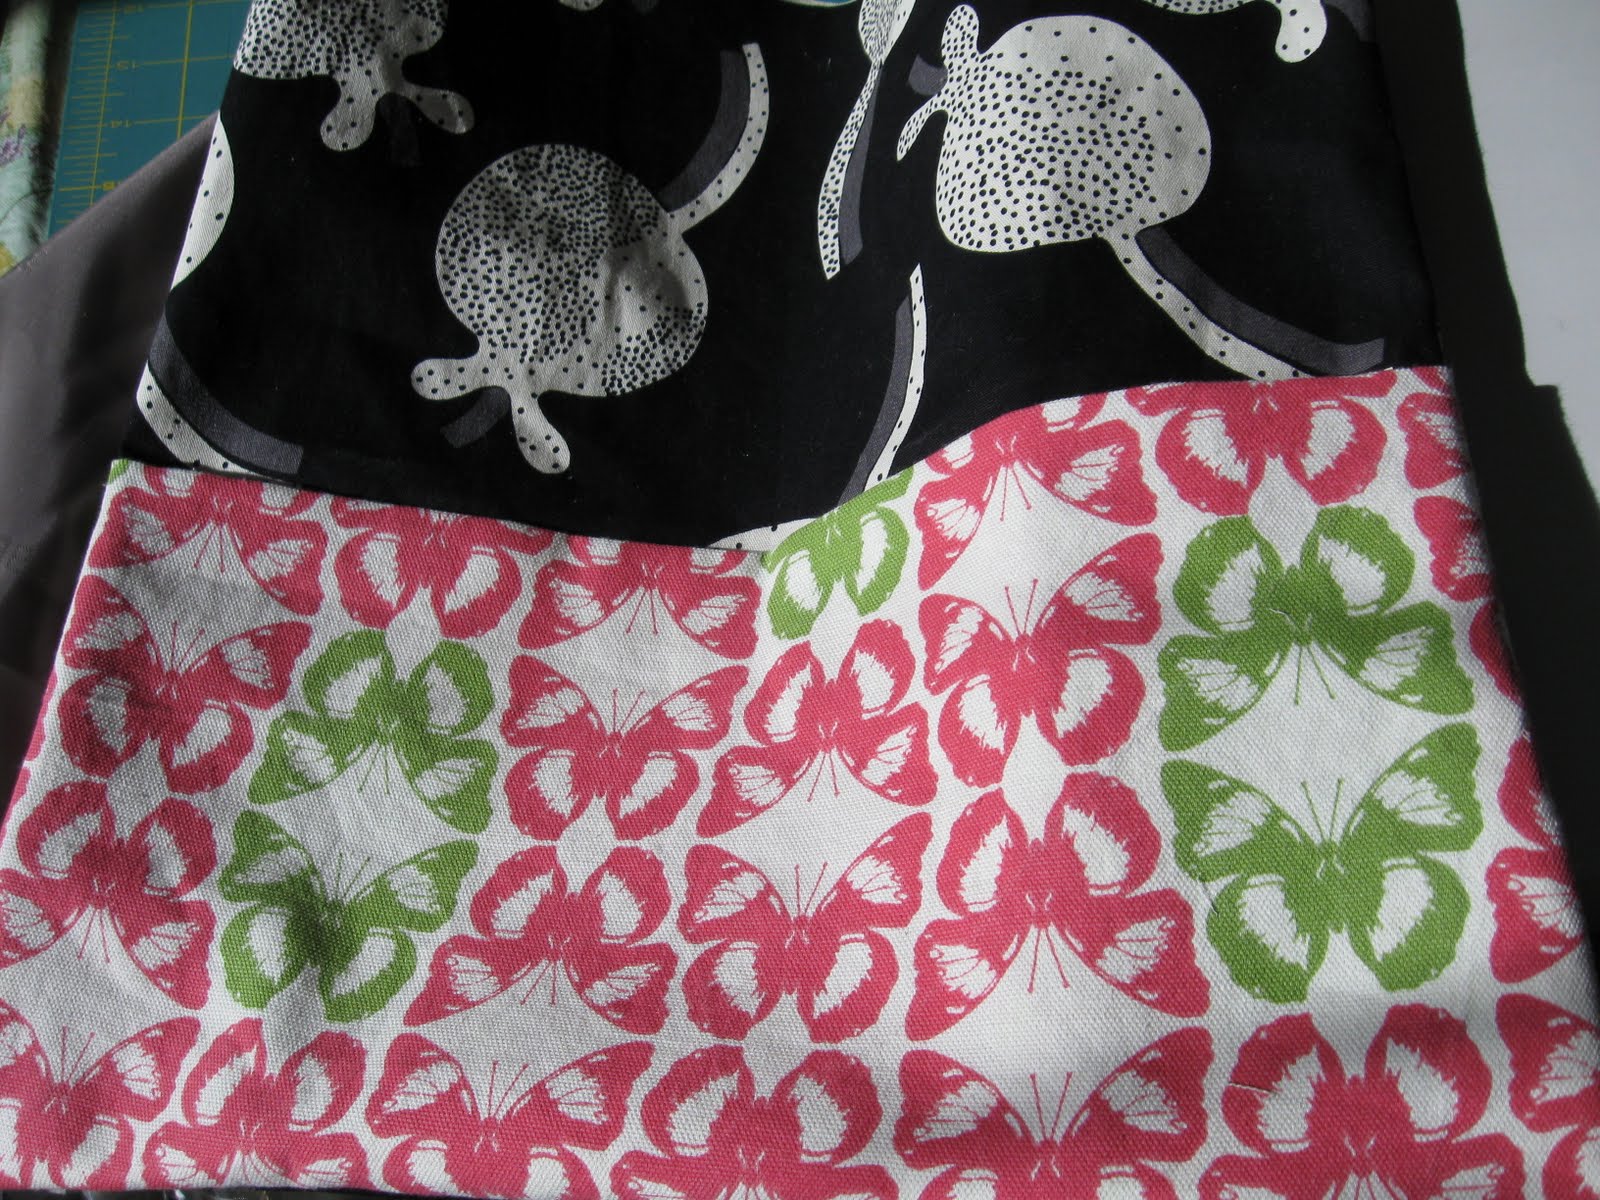
Fold pocket fabric in half and pin to bottom half of bag front. The fold of the pocket will be halfway down the bag. Make sure that the raw edges of the pocket are even with the bag front on the sides and across the bottom. Baste in place. Do not sew top of pocket closed.(kind of defeats the purpose of the pocket)
Stack front and back of bag RST. Pin, sew down one side across bottom and up the other side.
Reinforce stitching (sew back and forth across it right on the seam line) at the the top of the pocket on each side.

Note: You can just barely see where I did 3 diagonal stitches across the corner. This will make for a squarer corner.
Trim a triangle off of each corner to reduce bulk.

Turn bag right side out. Poke out the corners.

Place bag inside lining (lining will be wrong side out). Pin the top of the bag to the top of the lining lining up seam allowances. Sew all around top of bag/lining. Do some reinforcement stitching across the straps.

Pull side opening of lining slightly apart. It's "crowning".
Pull bag out through the opening.

Fold seam allowance of opening in. Pin closed.Sew opening closed by machine or by hand.

Tuck lining down inside bag.
Press.

To increase sturdiness apply Fray Check (or equivalent) to upper pocket corners.


Topstitch around top of bag 1/8" from edge. Position Velcro loop strip and sew in place with plentyof reinforcement stitches.

Ta Da!
If you should decide to make this bag; could you please post a picture and notify me? I would dearly love to see a photo.

Monday, June 14, 2010

Single block quilt, quick and easy, tutorial


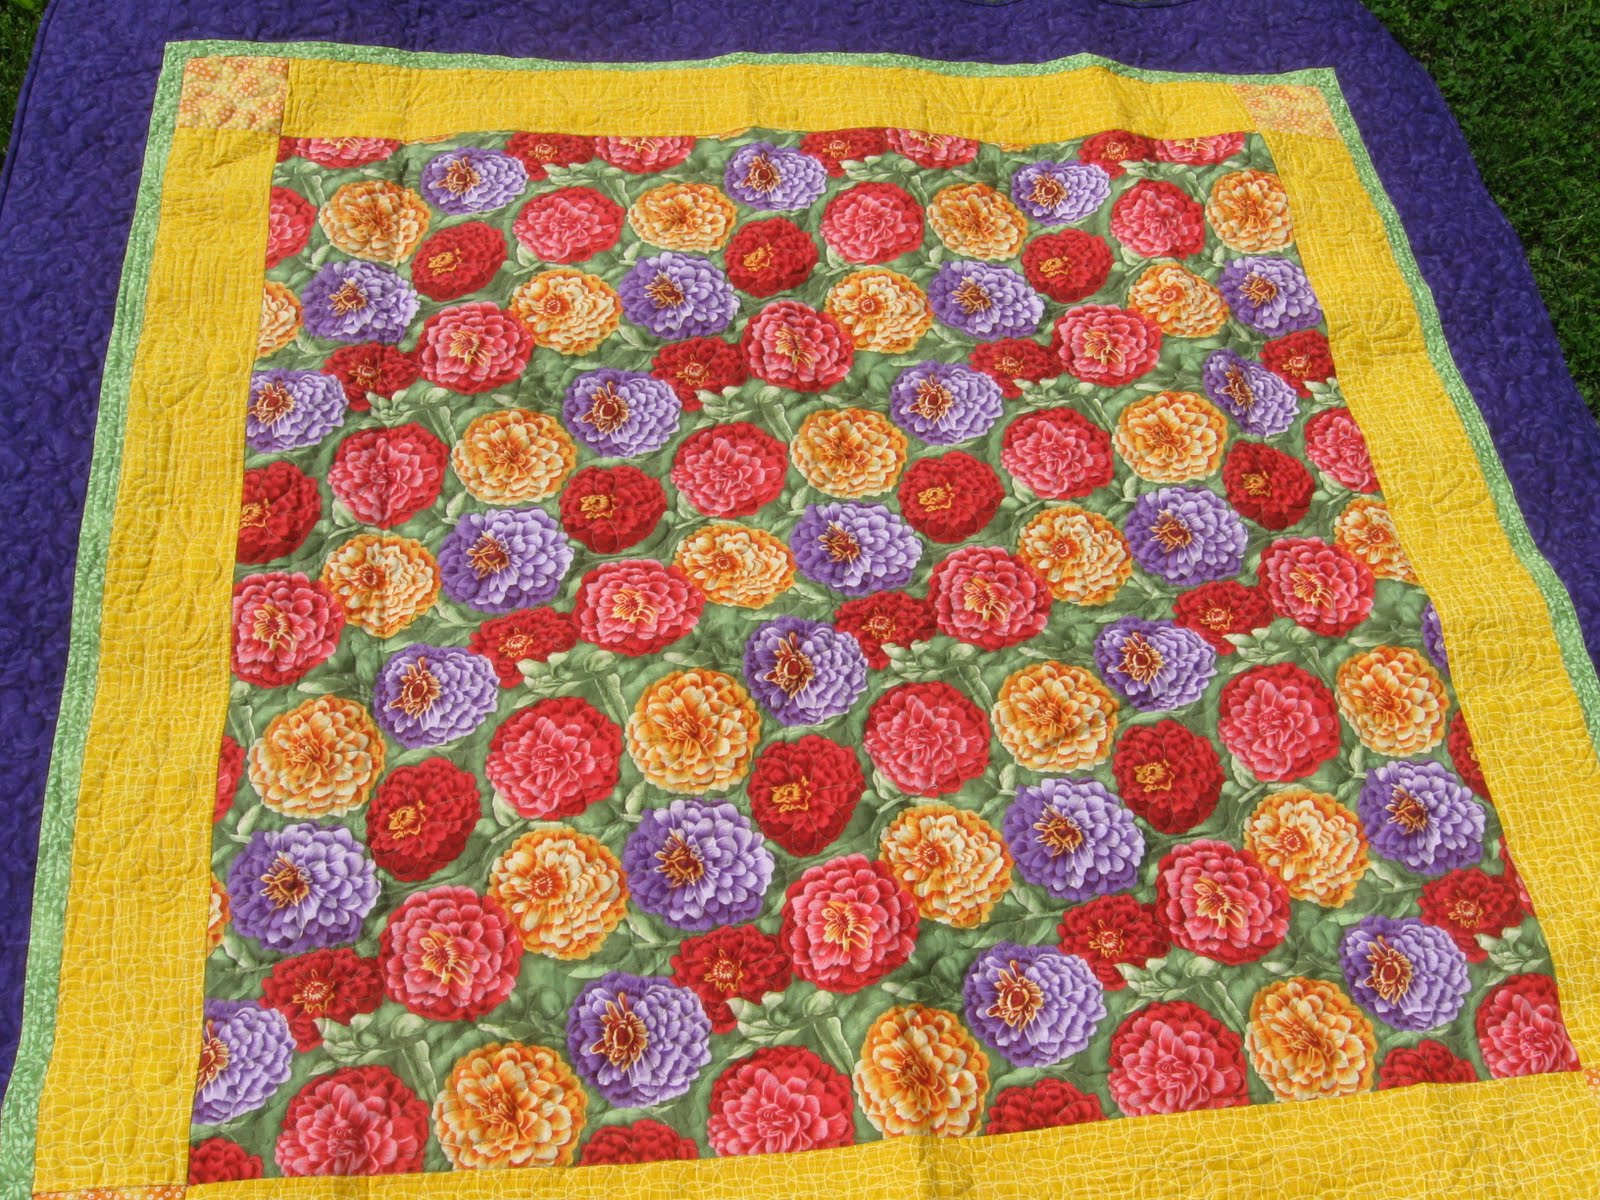
I saw a small quilt out in blogland very similar to this. A lightbulb went off over my head and I came up with this little gem that is great for showcasing some of those big beautiful prints. Please do not print off copies of these directions and share them. If your friends want to make this quilt; please refer them to my blog. You are welcome to sell the quilt at craft shows or online.

60” x 60”

Center fabric:
1 ¼ yds
Inner border w/corner blocks:
5/8 yd plus at least a 4 1/2” x 18” remnant for corner blocks
Middle border:
3/8 yd
Outer border + binding
1 ½ yds

Backing and batting at least 62” x 62”

Note: If you wish to piece your backing; purchase extra length of your yardage pieces.

Rotary cutter, mat, cutting ruler Sewing machine, iron, ironing board Thread, pins, measuring tape
Wash, dry, and press all fabrics. Trim selvages from each in turn.
Note: All seams are ¼”. WOF means width of fabric.

From outer border fabric cut 6 5¼” WOF Sew these strips together, end to end, press seams. Cut two pieces 60” long, fold together. Cut two more strips 50½” long, fold together and stack on top of previous cut border pieces. For binding: Cut 6 2½” WOF strips (or whatever measurement you use for your binding). Sew the ends together with a diagonal seam. Trim seams to ¼” fold your long strip in half and press. Set aside.

From middle border fabric cut 5 1½” WOF strips. Sew these strips together, end to end, press seams. Cut two pieces 50½” long, fold together, stack on top of previous cut border pieces. Cut two more strip 48½” long, fold together and stack on top of previous cut border pieces.

From inner border fabric cut 4 4½” WOF strips. Trim them all to 40½” in length. Cut 4 4½” cornerblock squares from the remnant. Take two of the 40 ½” strips and sew a 4½” cornerblock square to each end. Press cornerblock seams toward the center, fold together and stack on top of previous cut border pieces. Fold up remaining two pieces and stack on top of your now towering border stack.

From the center square fabric cut a 40½” square.
Sewing:

Inner border: Pin and sew the two 40 ½” borders to oppsite sides of center square. Sew the other 2 corner block strips to remaining sides. Press the seams towards the outside of the quilt.

Middle border: Pin and sew the 48½” then the 50½” strips to the quilt. Press the seams towards the outside of the quilt.

Outer border: Pin and sew the 50½” and then the 60” strips to the quilt. Press the seams towards the outside of the quilt.

Baste, quilt, and bind quilt in desired manner.
Detail photos:
Cutting detail of inner border cornerblocks.

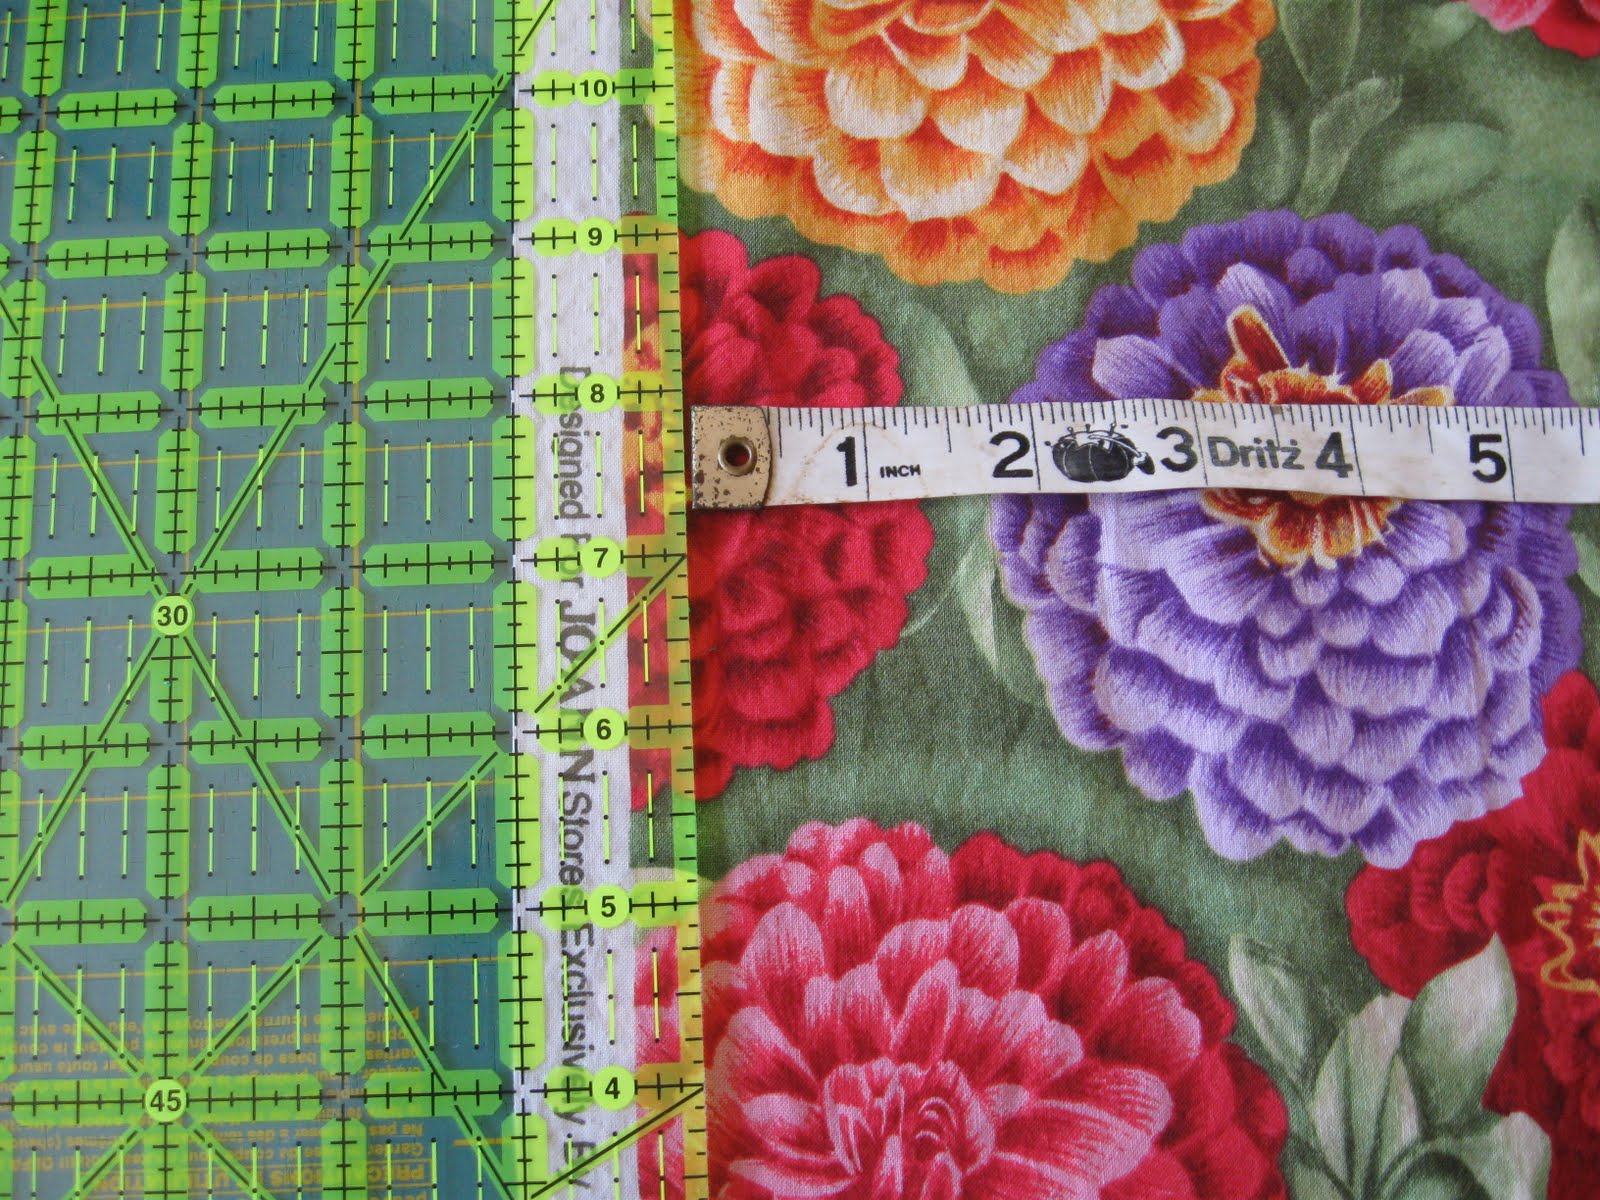
Cuttting detail for center block.
Cutting detail for center block.

Sewing detail for outer border. Note how I chain piece the seams.

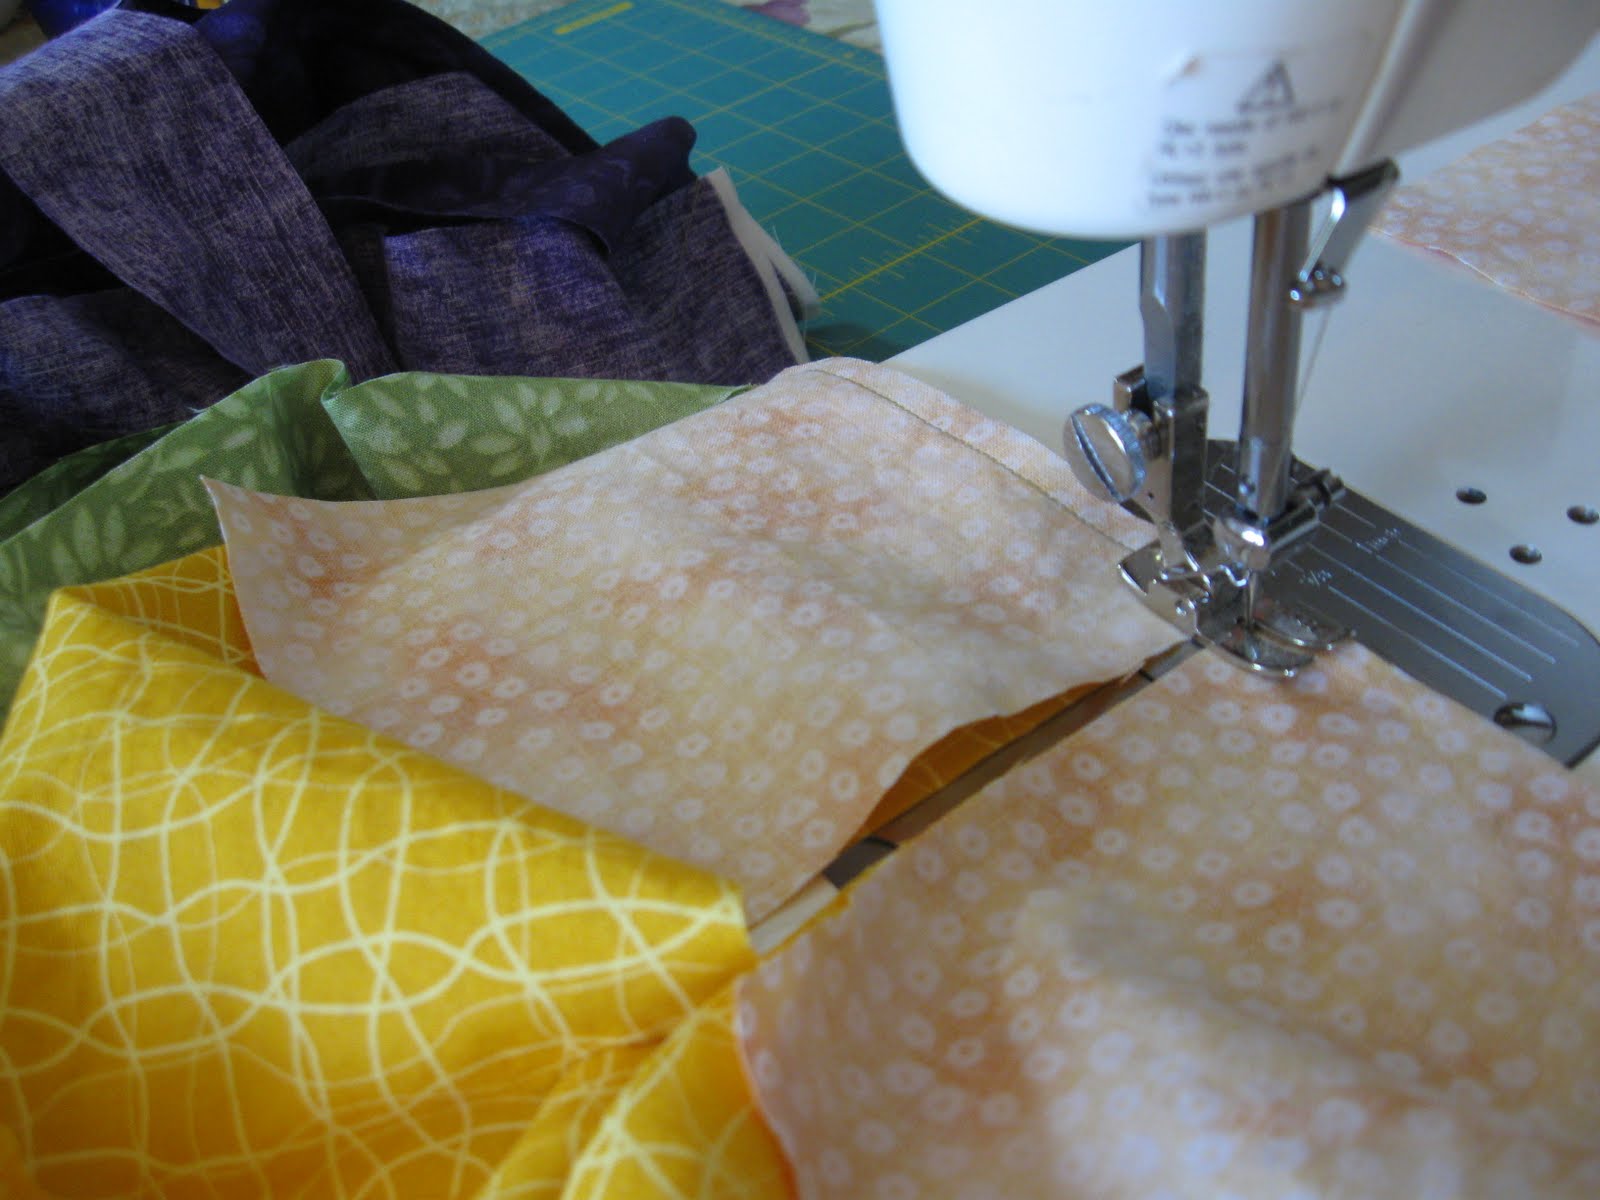
Sewing detail for corner blocks. Chain piecing again.

Sewing detail for binding. Chain piecing again.
Trimming binding seam down to 1/4".


Binding seams may be pressed open or to the side. Pressed to the side is quicker but pressed open is just a little bit neater in appearance.


Pressing detail for binding.

Middle border pieces neatly folded on top of outer border pieces waiting to be sewn on to quilt. The nice thing about completing border pieces first is that you can just whiz through the piecing.

Pinning detail of inner border.

If you are going to sew across an unpressed seam, pin it down so that it doesn't flip in the wrong direction while you are sewing.

Pieced back.

Detail of quilting, front.

Detail of quilting, back.
If you construct this quilt could you please email me a link to photos so that I can see it?