
I saw a small quilt out in blogland very similar to this. A lightbulb went off over my head and I came up with this little gem that is great for showcasing some of those big beautiful prints. Please do not print off copies of these directions and share them. If your friends want to make this quilt; please refer them to my blog. You are welcome to sell the quilt at craft shows or online.
60” x 60”
Center fabric:
1 ¼ yds
Inner border w/corner blocks:
5/8 yd plus at least a 4 1/2” x 18” remnant for corner blocks
Middle border:
3/8 yd
Outer border + binding
1 ½ yds
Backing and batting at least 62” x 62”
Note: If you wish to piece your backing; purchase extra length of your yardage pieces.
Rotary cutter, mat, cutting ruler Sewing machine, iron, ironing board Thread, pins, measuring tape
Wash, dry, and press all fabrics. Trim selvages from each in turn.
Note: All seams are ¼”. WOF means width of fabric.
From outer border fabric cut 6 5¼” WOF Sew these strips together, end to end, press seams. Cut two pieces 60” long, fold together. Cut two more strips 50½” long, fold together and stack on top of previous cut border pieces. For binding: Cut 6 2½” WOF strips (or whatever measurement you use for your binding). Sew the ends together with a diagonal seam. Trim seams to ¼” fold your long strip in half and press. Set aside.
From middle border fabric cut 5 1½” WOF strips. Sew these strips together, end to end, press seams. Cut two pieces 50½” long, fold together, stack on top of previous cut border pieces. Cut two more strip 48½” long, fold together and stack on top of previous cut border pieces.
From inner border fabric cut 4 4½” WOF strips. Trim them all to 40½” in length. Cut 4 4½” cornerblock squares from the remnant. Take two of the 40 ½” strips and sew a 4½” cornerblock square to each end. Press cornerblock seams toward the center, fold together and stack on top of previous cut border pieces. Fold up remaining two pieces and stack on top of your now towering border stack.
From the center square fabric cut a 40½” square.
Sewing:
Inner border: Pin and sew the two 40 ½” borders to oppsite sides of center square. Sew the other 2 corner block strips to remaining sides. Press the seams towards the outside of the quilt.
Middle border: Pin and sew the 48½” then the 50½” strips to the quilt. Press the seams towards the outside of the quilt.
Outer border: Pin and sew the 50½” and then the 60” strips to the quilt. Press the seams towards the outside of the quilt.
Baste, quilt, and bind quilt in desired manner.
Detail photos:
 Cutting detail of inner border cornerblocks.
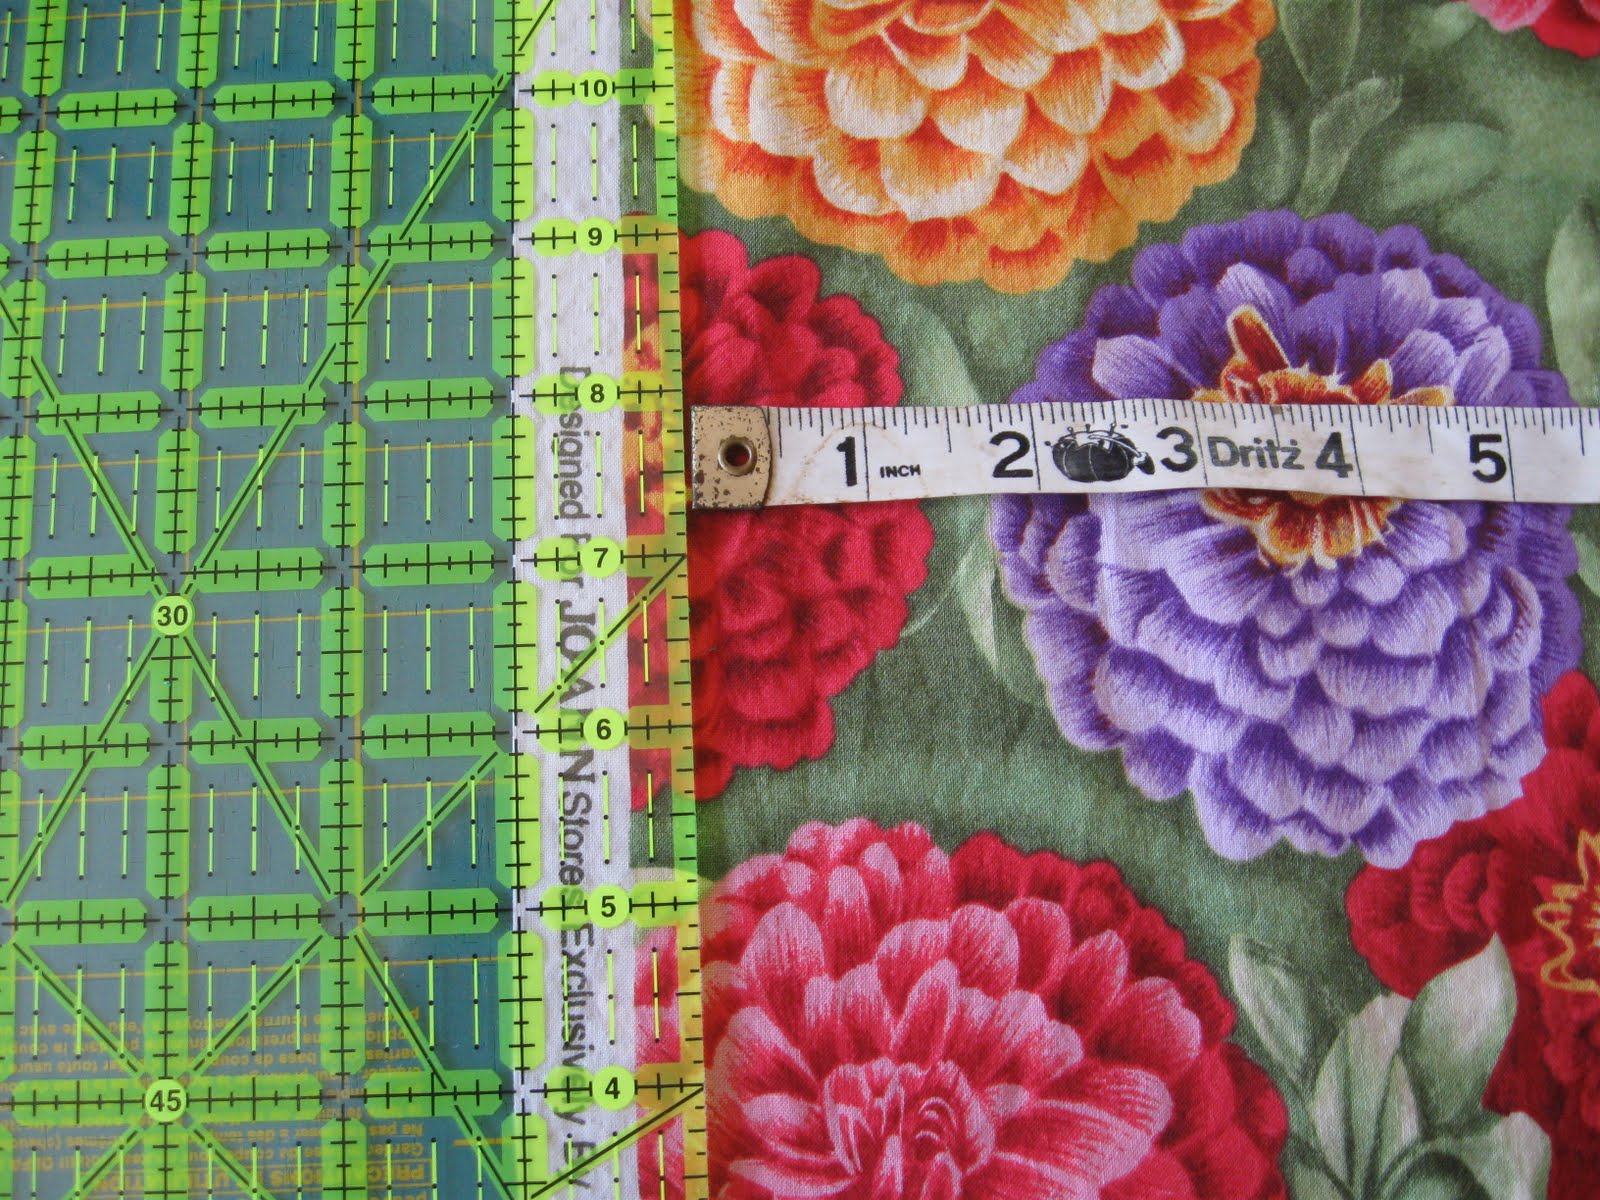 Cuttting detail for center block.
 Cutting detail for center block.
 Sewing detail for outer border. Note how I chain piece the seams.
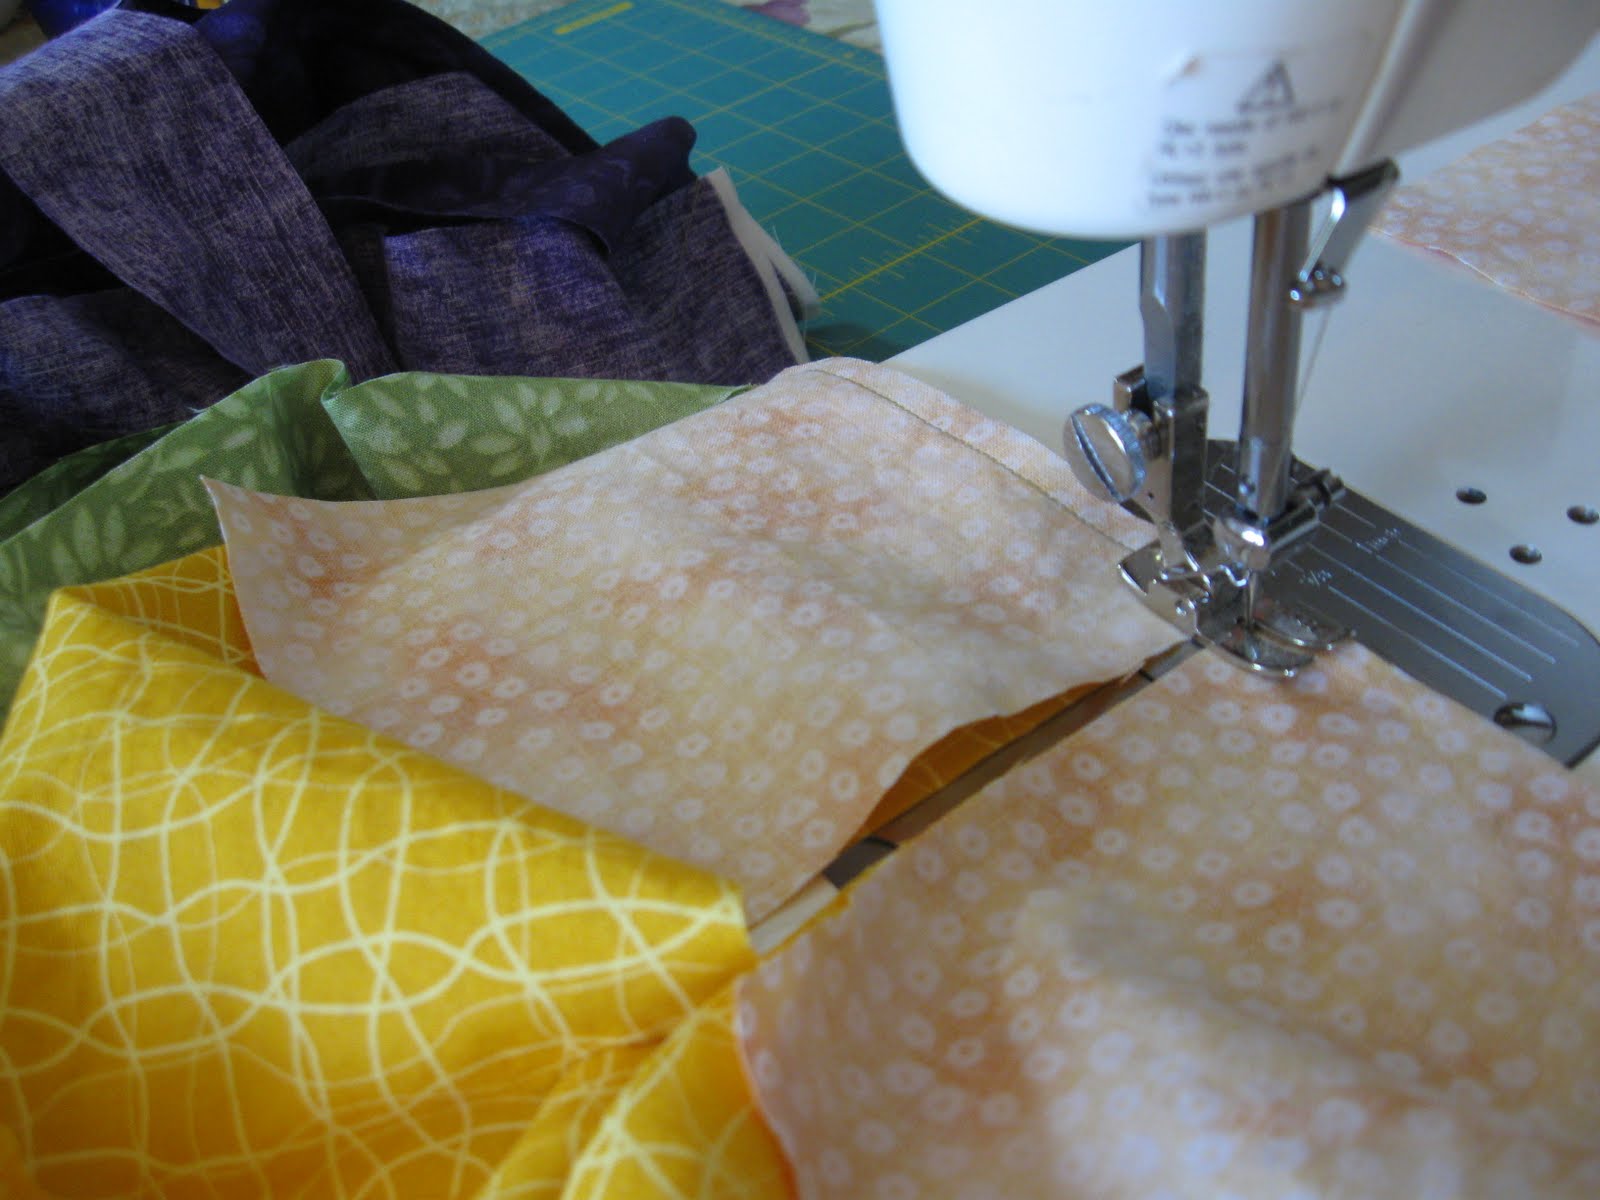 Sewing detail for corner blocks. Chain piecing again.
 Sewing detail for binding. Chain piecing again.
 Trimming binding seam down to 1/4".
 Binding seams may be pressed open or to the side. Pressed to the side is quicker but pressed open is just a little bit neater in appearance.
 Pressing detail for binding.
 Middle border pieces neatly folded on top of outer border pieces waiting to be sewn on to quilt. The nice thing about completing border pieces first is that you can just whiz through the piecing.
 Pinning detail of inner border.
 If you are going to sew across an unpressed seam, pin it down so that it doesn't flip in the wrong direction while you are sewing.
 Pieced back.
 Detail of quilting, front.
 Detail of quilting, back.
If you construct this quilt could you please email me a link to photos so that I can see it?
No comments:
Post a Comment